How I Made My Fireplace PlexiGlass Cover
This post may contain affiliate links. We may earn a commission, at no cost to you, if you buy something through the links on this page. Learn more.
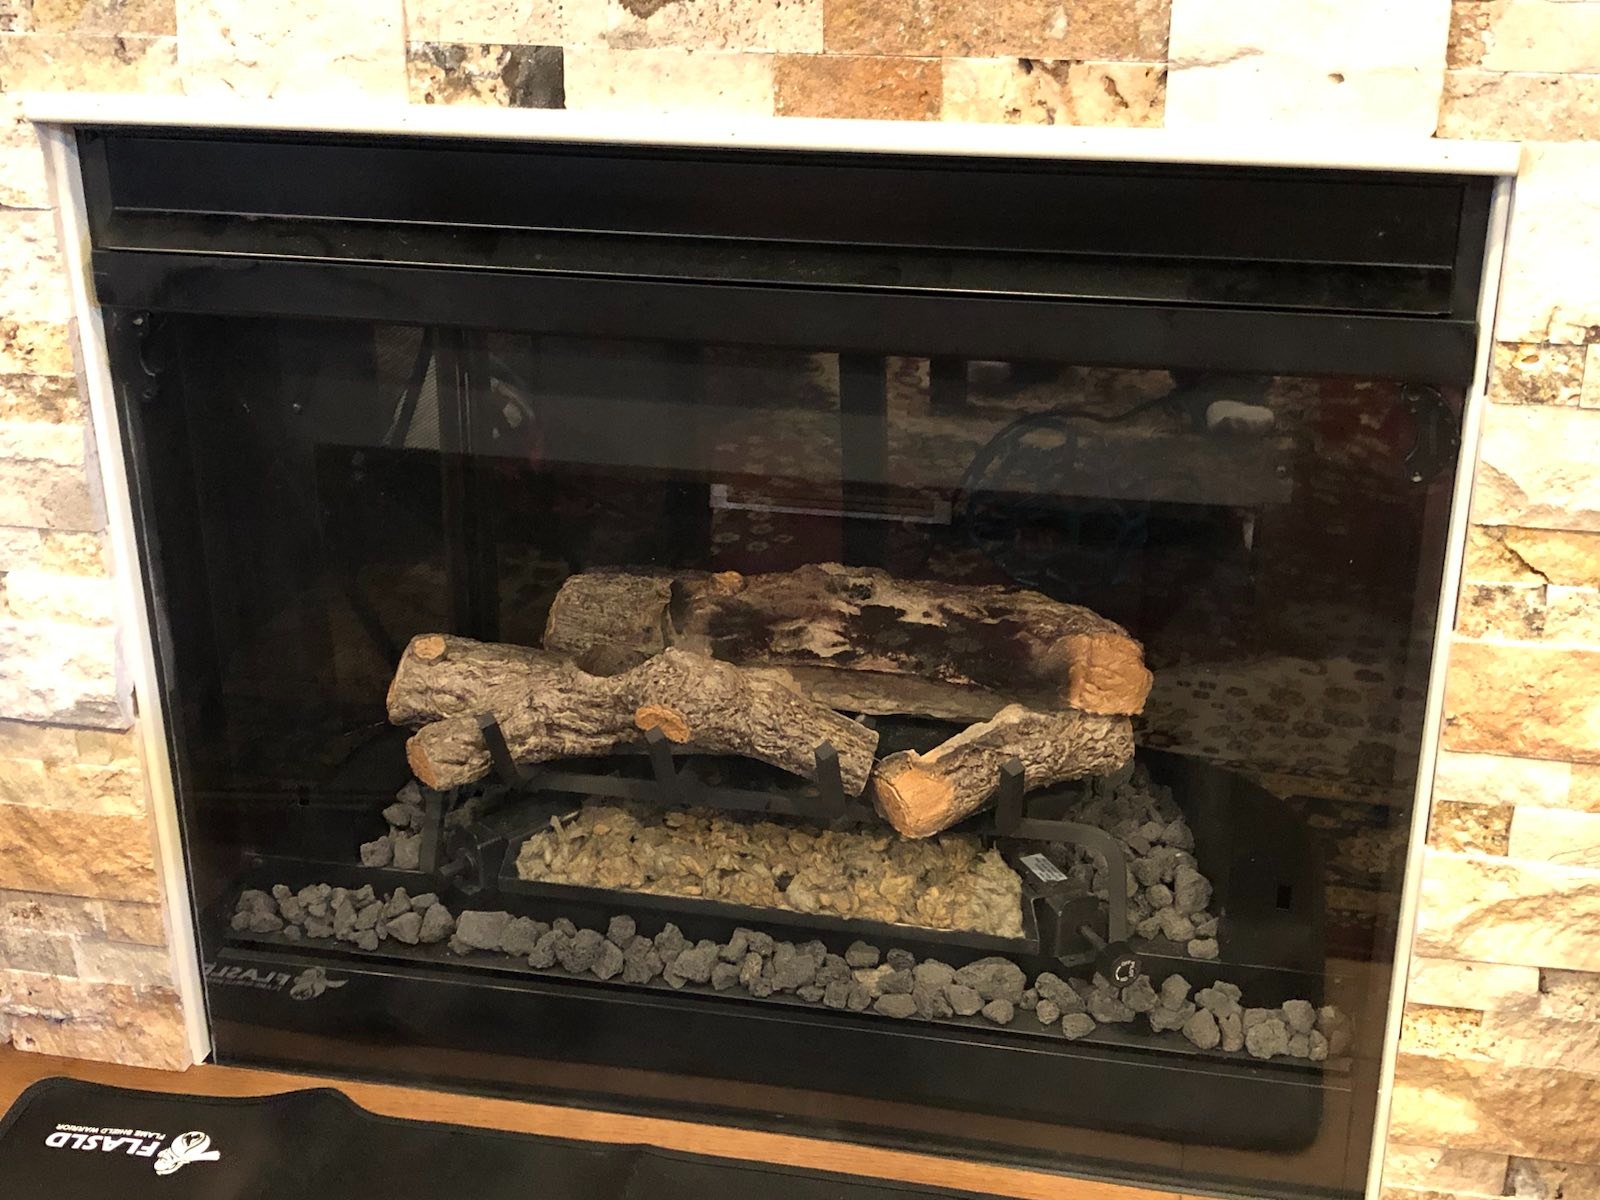
Our fireplace was old. It no longer generated enough heat or burned with a beautiful decorative flame. But mostly it is just old. Its age was showing. I guess it is time for change.
But first, we had a few decisions to make before starting. Should we replace the entire fireplace and get the latest and greatest in fireplace tech? Or should we just replace the burner? We could go electric! That is an option too. You can guess which option we chose. Yes, to replace the entire fireplace! No, I meant the burner. And for the burner, we went with the Peterson Real-Fyre G46-18/20-17(M). And with this update, we also decided to get a new mantle and decorative stone wall.
Unfortunately, all this replacement required removing the existing fireplace glass door. Not just during the installation. It is just gone. The fault was not with the burner, though. The new hardwood flooring was just a tad too high to put back the glass door. We were already experiencing problems with the draft before. Leaving it completely open will make this worse. A door is required. But not just any door. It had to be clear so that the burner and wood (fake) were visible even when there was no fire. And since I can’t work with actual glass, a plexiglass cover is the next best thing. I choose to use a clear plexiglass as the cover.
Now that we have selected the materials, the next question is “How much do you want to spend?”.
I’ve got some basic power tools around the house, mostly from Ryobi. I’ve standardized with Ryobi because Ryobi makes my battery-powered lawn mover, and my cordless screwdriver is also by Ryobi, and so forth. Might as well standardize to their 40V and 18V product lines.
I’ve saved some leftover scrap of wood from doing some kitchen work. Also got liquid nails, screws, etc. Looks like we are ready to start.
The Design
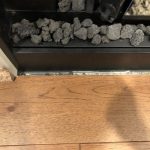
Step one, explore, and study the existing makeup, without the glass cover. A close inspection revealed that the hardwood flooring now extends up to the fireplace. Not 100% comfortable with that. I can’t image the heat being so intense as to start a fire. But, to be on the safer side, I purchased a fireproof mat in front of the fireplace.
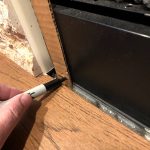
Step two. What kind of mounting can we expect? The border of the fireplace is metal, but what kind, Aluminum? Testing with a magnet shows either sheet iron or steel, not sure. It opens a possibility. Maybe I could use one of those magnetic strips you can buy from Michaels, or The Home Depot, or even Amazon to attach the plexiglass to the fireplace. I will need to experiment to find one that is strong enough. I found a piece of scrap wood that I can use as a handle. Painting this black will make it invisible. I think we have a general design concept.
Testing the fit
This is going to be a one-off project. This means that I do not expect to repeat this, and any mistakes will need to be fixed along the way. Assuming these mistakes are not major ones.
To minimize errors. I tried out the design using a cardboard box in place of the plexiglass. This will confirm measurements. Once completed, I will use the cardboard box as a template to cut out the plexiglass to size. Smart right?
Trimming the Plexiglass
The most troublesome part of this project is cutting the plexiglass to the right shape and size. Using the cardboard cutout as a template will simplify the measuring. But a cardboard cutout will not save you from an unsteady hand. So this needs to be done right.
I’ve done a little research on cutting Plexiglass. The recommended method for cutting a plexiglass is to use a plexiglass scoring tool. This device will score the plexiglass much the same way as a glass cutter scores glass and allows a clean snap along the score.

You can also use a box cutter with a brand-new, quality blade. You need to hold the box cutter steady and slowly score the plexiglass. Once done, the process is the same as using a scorer.
I did not have a scorer and did not want to purchase one. This would become a single-use purchase, so I opted for the box cutter. I have plenty of new blades. But for the life of me, I cannot make a straight cut. Even with the aid of a metal guide. There are places where the plexiglass did not snap in a straight line. After this failed line, I reviewed my options again.
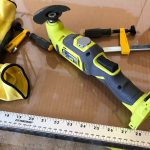
I have a wood/plastic oscillating blade that came with the Ryobi Multi-tool set I have. It took me a few tries, but I could soon make relatively straight cuts, at least when compared to the box cutter. I used to box cutter to shave off the sharp edges, then a fine sandpaper to smoothen these a bit.
The next step, the attaching the wooden holder and magnet.
The Magnet
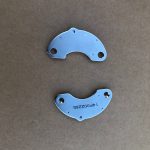
I mentioned earlier that I was considering using one of those magnetic strips from The Home Depot, Amazon, or any other home improvement or art store. Pretty much anywhere. I have some experience with this type of magnet. I used this to hold a cover over a part of the HVAC return vent. But over time, the magnets seem to weaken. And I do not want to redo the plexiglass cover. Luckily, I have another option. Old mechanical hard drives have magnets. And these magnets are very strong. So I tore one up, pulled the magnets out, and attached that to the plexiglass. Perfect! Well almost.
I am getting ahead of myself here.
Painting the parts
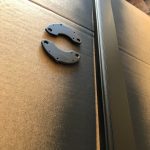
The fireplace is color black. The magnet is reflective and the wooden handle is white. The plexiglass will remain clear so that the interior of the fireplace remains visible. I need to paint the magnet and handle black before attaching these to the plexiglass. The idea is for these to blend into the background. A Rust-Oleum branded spray paint was conveniently on hand. And after a few hours of drying, I then used Liquid Nail to attach the wood handle to the plexiglass, and a gorilla glue double-sided tape to attach the magnets. The final product looks very nice if I say so myself.
To Summarize
Here are the steps taken to build the plexiglass cover.
- Measure the size of the fireplace opening. Take into consideration how the cover will be secured to the fireplace.
- Use a cardboard, or other material to do a trial size of the plexiglass cover. Make adjustments as needed.
- Use the cardboard as a template for the actual measurements of the plexiglass.
- Use the cardboard to determine the correct placement for the handle and securing method. In my case, I see a pair of strong magnets.
- Trim the plexiglass. Use either a plexiglass scorer, a brand-new box cutter or a multi-tool.
- Use a box cutter or sandpaper to smooth out the rough edges.
- Paint the handle and mounting device to match your color scheme.
- Mark the placement of the handle and securing device as determined from the cardboard template. Secure in place and let dry.
- Install plexiglass cover and enjoy.
- Remember, always remove the plexiglass cover BEFORE using the fireplace.
© 2024, Norman Talon. All rights reserved.